
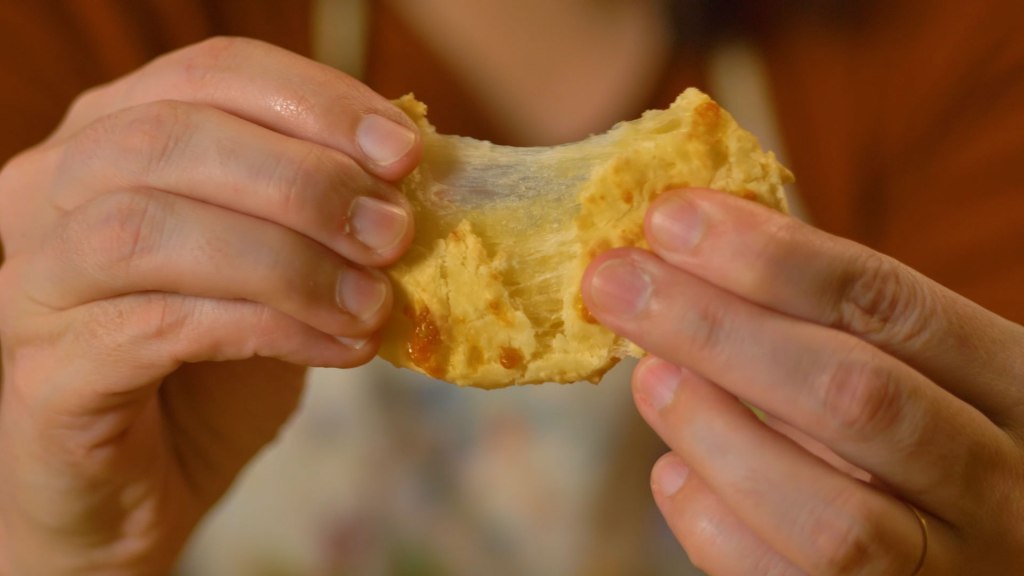
Sometimes translated as Brazilian cheesy bread or cheese puffs, pão de queijo literally means cheese bread — and it tastes even better than it sounds. Made with tapioca (and without yeast!) this traditional Brazilian recipe is perfect for beginners who don’t mind getting their hands sticky. This is also a tasty gluten-free snack.
After a lot trial and error, adapting a lot of different recipes I found online and offline, I was able to get to the perfect pão de queijo recipe for you.
Let’s talk about cheese.
When I’m feeling a little wild, I’ll use whatever cheese I find in the fridge. Feta gives a funky flavor that I find irresistible! But after making dozens of batches of cheese bread, I must admit: hard, sharp cheeses provide the most consistent texture and flavor.
So, my advice? Start with parmesan. It’s the best substitute I’ve found for meia cura, the traditional cheese for this recipe found in Brazil. (And, if you can find a place that sells meia cura online, let me know. I’ve been looking for years!)
Let’s get cooking.
TIME: 1 hour + 40 minutes
INGREDIENTS:
- 4 cups of tapioca flour
- 2 tsp of salt
- 6 tbsp of olive oil
- 2 large eggs
- 1 1/4 cups of 2% milk
- 1/2 cup of water
- 2 1/2 cups of cheese
*** Adding whole milk and more cheese than recommended will add too much fat to the dough and make the cheese bread flatter.
INSTRUCTIONS:
- Add milk, water, salt and oil to a pan. Bring it to a boil on medium heat.
- Add the tapioca starch to a mixing bowl.
- Add the hot mixture to the mixing bowl and mix until the dough looks homogenous.
- Add the two eggs and mix again until dough looks homogenous. At this point, you might need a spatula to help the sticky dough on the side of the bowl mix with the rest of the dough.
- Add the cheese. Don’t over-mix the cheese––keep it chunky.
- Cover the dough and put it in the fridge for an hour.
- Set the over to 400F (at sea level) and 425F (high elevation).
- To shape the dough into balls, you’ll need to wet your hands and a tablespoon with cold water so the dough doesn’t stick as much to the surfaces. The balls should be about 1 1/2 inches. You’ll likely need to wash your hands and the spoon every now and then.
- Place the cheese bread on a tray, with about an 2 inches space between them and place the tray in the oven. After about 20 minutes, it’s ready to serve. Enjoy!

Leave a comment